 Endodontic Rotary Files
 Finishing Burs
 High-Speed Burs
 Low-Speed Drills
 Cosmetic Accessories
 Home Whitening Kits
 Clinic Whitening Kits
 Implant Accessories
 Implant Fixtures
 Prosthetic Components
 Surgical Implant Tools
 CAD & CAM Materials
 Lab Consumables
 Lab Equipment
 Digital Dentistry Devices
 Endodontic Equipment
 General Clinic Equipment
 Restorative Equipment
 Surgical Equipment
 Hand Files
 Irrigation & Medicaments
 Post & Core
 Rotary Files
 Sealers
 Brackets & Wires
 Clear Aligners
 Orthodontic Accessories
 Bonding & Adhesive Systems
 Finishing & Polishing
 Matrix Systems
 Etching Materials
 Composite Materials
 Occlusion Checking
 Bone & Grafting Materials
 Surgical Accessories
 Surgical Consumables
 Cementation
 Impression & Registration Materials
 Temporary Restorations
 Periodontal Instruments & Accessories
 Periodontal Treatment Materials


Dental Curing Light: A Clinical Buying and Maintenance Guide

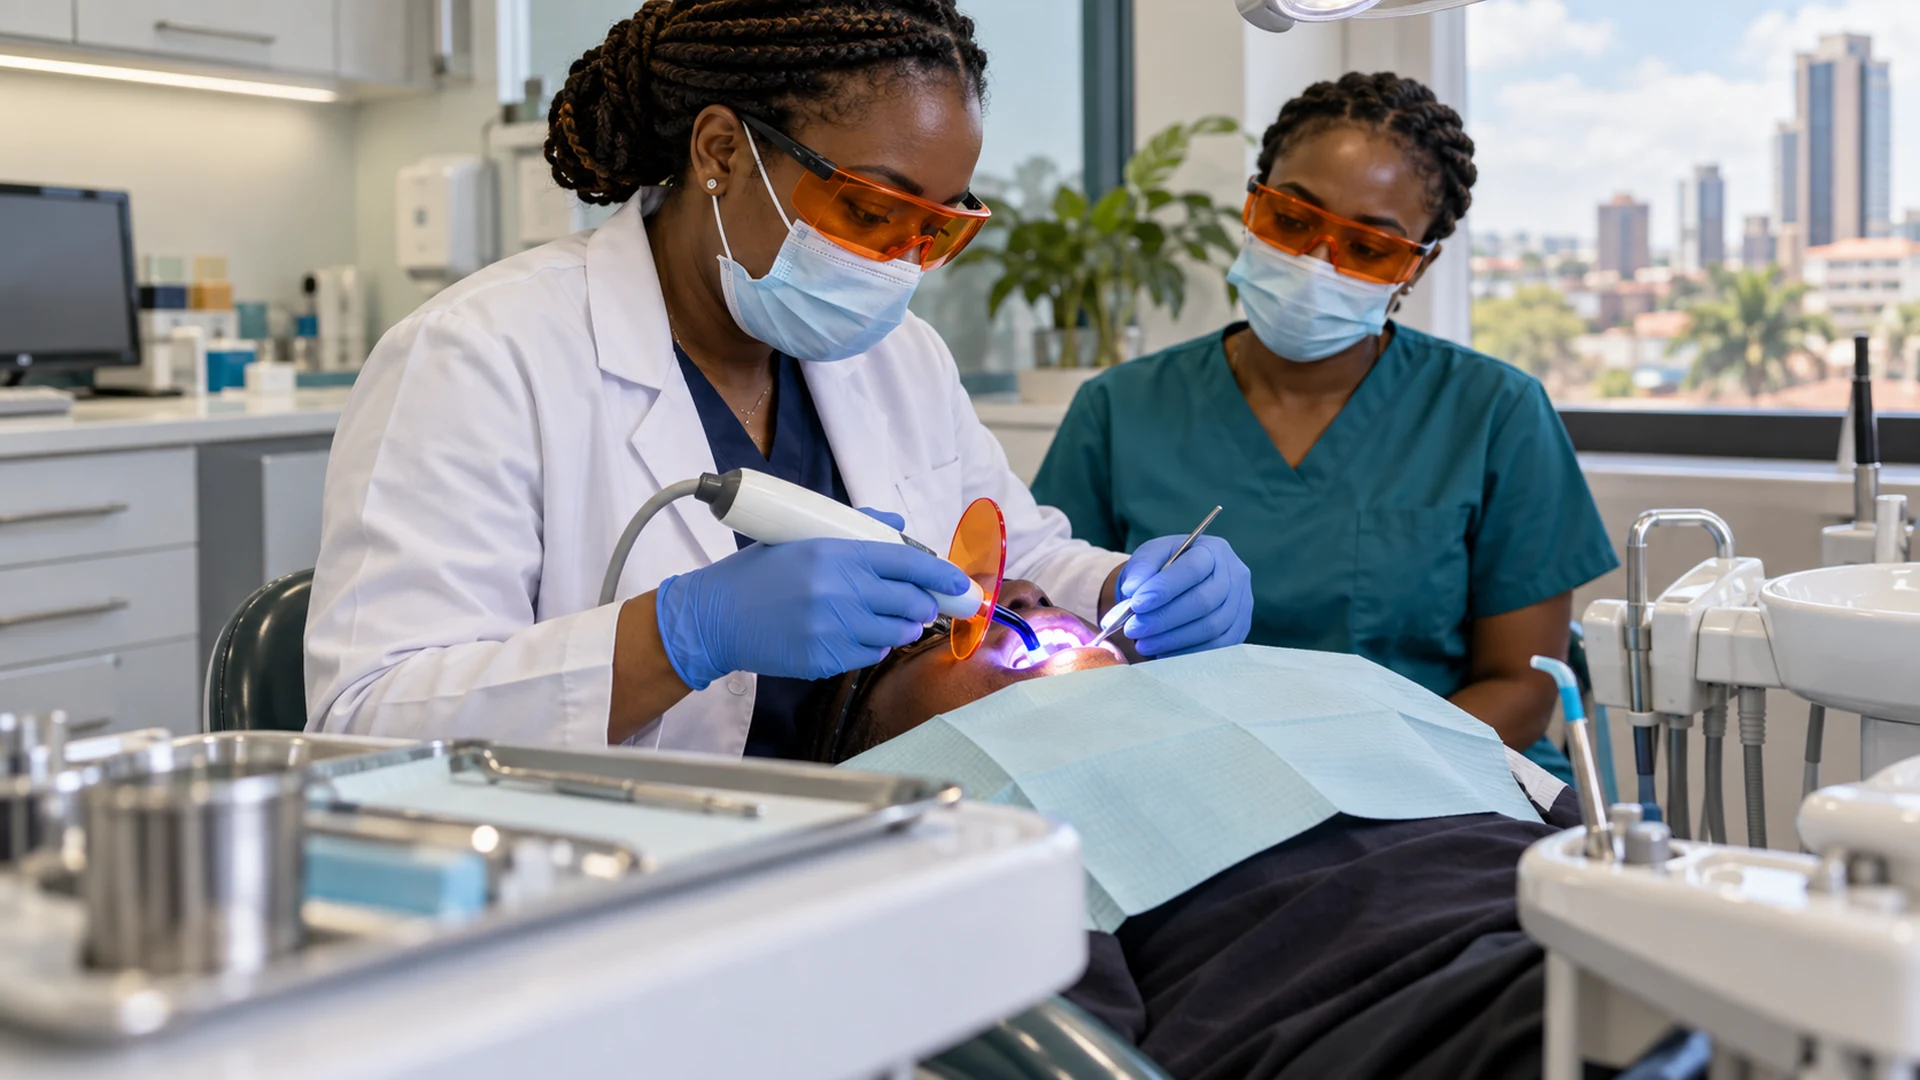
A dental curing light can look bright and still deliver too little useful energy to a restoration. Wavelength, tip condition, distance, angulation, exposure time and the material’s own instructions all affect the result. This guide helps dental teams choose, check and use an LED light without relying on a single advertised power figure.
Quick answer: Match the light’s emission spectrum to the restorative material, follow that material’s current instructions for increment thickness and exposure, position the tip close and perpendicular without touching uncured resin, protect eyes, and document regular output checks. More power does not automatically justify shorter curing.
Contents
- Why curing matters
- Read the specifications
- A repeatable clinical technique
- Quality control and maintenance
- Buying checklist for African clinics
- Frequently asked questions
Why a dental curing light is a clinical system
Light-cured composites depend on a photoinitiator receiving suitable light at sufficient energy. A lamp’s advertised irradiance is a useful specification, but it does not tell the whole story about what reaches the floor of a deep cavity. The American Dental Association’s overview of dental curing lights distinguishes irradiance, radiant exposure, wavelength and the hazards of blue light. Read those terms together with the restorative material’s instructions for use (IFU).
A simple calculation illustrates the concept: 1,000 mW/cm² is 1 W/cm², so 20 seconds corresponds to a nominal 20 J/cm² at the measured surface under ideal assumptions. That calculation is not a universal prescription. A larger gap, an angled tip, a small beam relative to the restoration, an obscured light guide or the wrong spectrum can change the energy delivered to the resin. Resin shade, opacity and thickness also affect light transmission.
The operational consequence is straightforward: choose the composite and curing protocol together. For broader material-selection context, see Denta24’s universal composite guide; the actual curing cycle must still come from the chosen material’s current IFU.
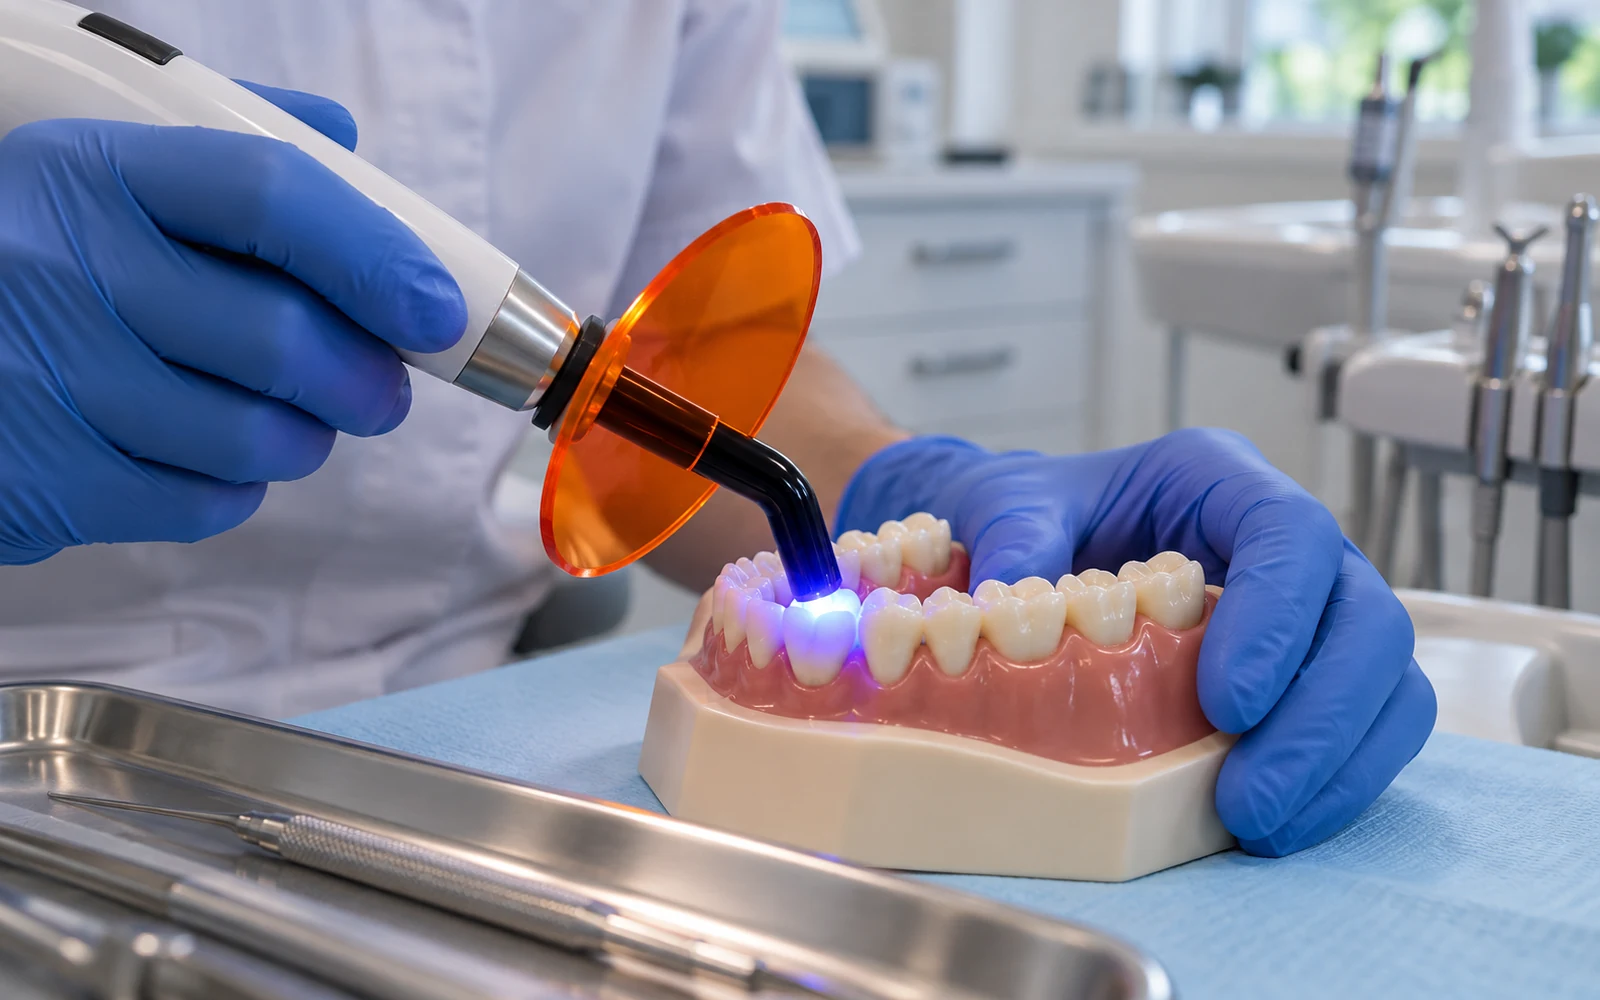
Read specifications before comparing devices
1. Spectrum and photoinitiator compatibility
Many products use camphorquinone, while some use additional initiators with different absorption ranges. A broad-spectrum or multi-peak light may be useful for a varied inventory, but neither label proves compatibility with every resin. Ask for the lamp’s spectral range and the material maker’s curing instructions. Do not infer a brand’s performance from another model’s documentation.
2. Useful output at the restoration
Compare the light’s optical-tip diameter with the likely restoration. If the beam does not cover the entire area, separate overlapping exposures may be needed according to the material and device instructions. Check how output changes with distance and whether the beam is reasonably uniform. A headline mW/cm² figure alone does not show all of these characteristics.
3. Timer, battery, infection control and service
Confirm which modes the clinic will actually use, whether the charger and electrical input fit the site, how many cycles a charged battery supports under real conditions, how the light guide is protected and cleaned, and whether replacement parts and local service are available. A protective barrier must not obscure the tip or compromise light output; follow the device’s infection-control instructions.
A repeatable clinical technique
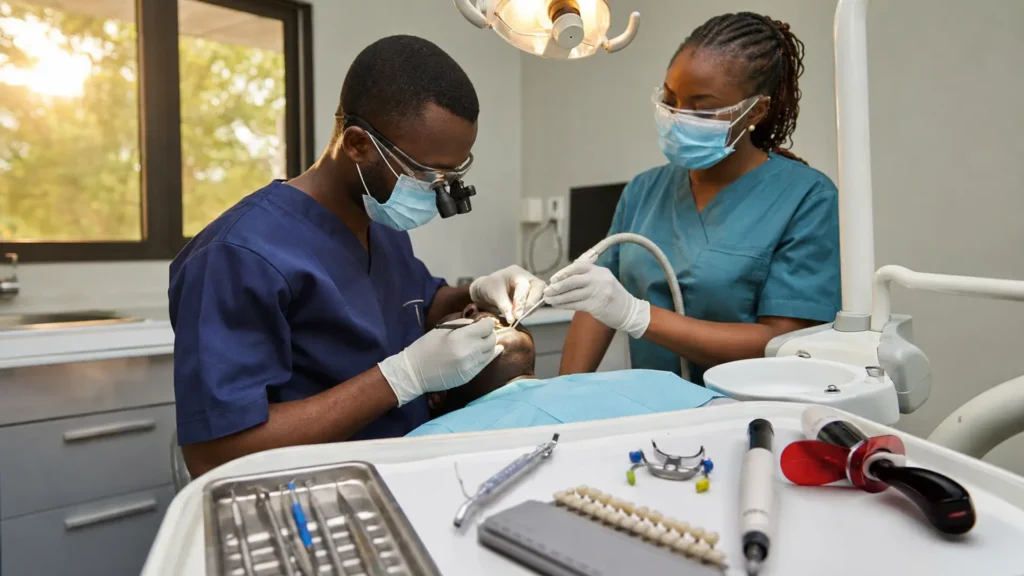
Before placement, read the composite’s current IFU for maximum increment thickness, shade-dependent instructions, curing wavelength and exposure time. Bulk-fill, conventional composite, adhesive and resin cement are different applications; one timer setting should not silently govern them all. Consider the adhesive workflow and any separate adhesive curing instructions as part of the overall procedure.
- Check the correct device mode and that the tip is clean and undamaged.
- Provide appropriate blue-light-filtering protection to the operator, assistant and patient as indicated by the device instructions; never stare directly at the tip.
- Stabilize the handpiece and bring the tip as close as safely possible, approximately perpendicular to the restorative surface.
- Maintain position for the specified exposure. If the area exceeds the useful beam, cover it with additional exposures according to the relevant instructions.
- Record a deviation and reassess if access, angle or patient movement prevents reliable delivery. Do not assume an arbitrary shorter or longer cycle fixes every problem.
Technique is measurable. In a simulator study of 25 dentists using six lights, training improved the radiant exposure delivered to a simulated posterior restoration, while the researchers also observed wide variation before instruction. The finding supports team training; it does not establish a single curing time for all devices or materials. Read the original study.
Quality control and maintenance
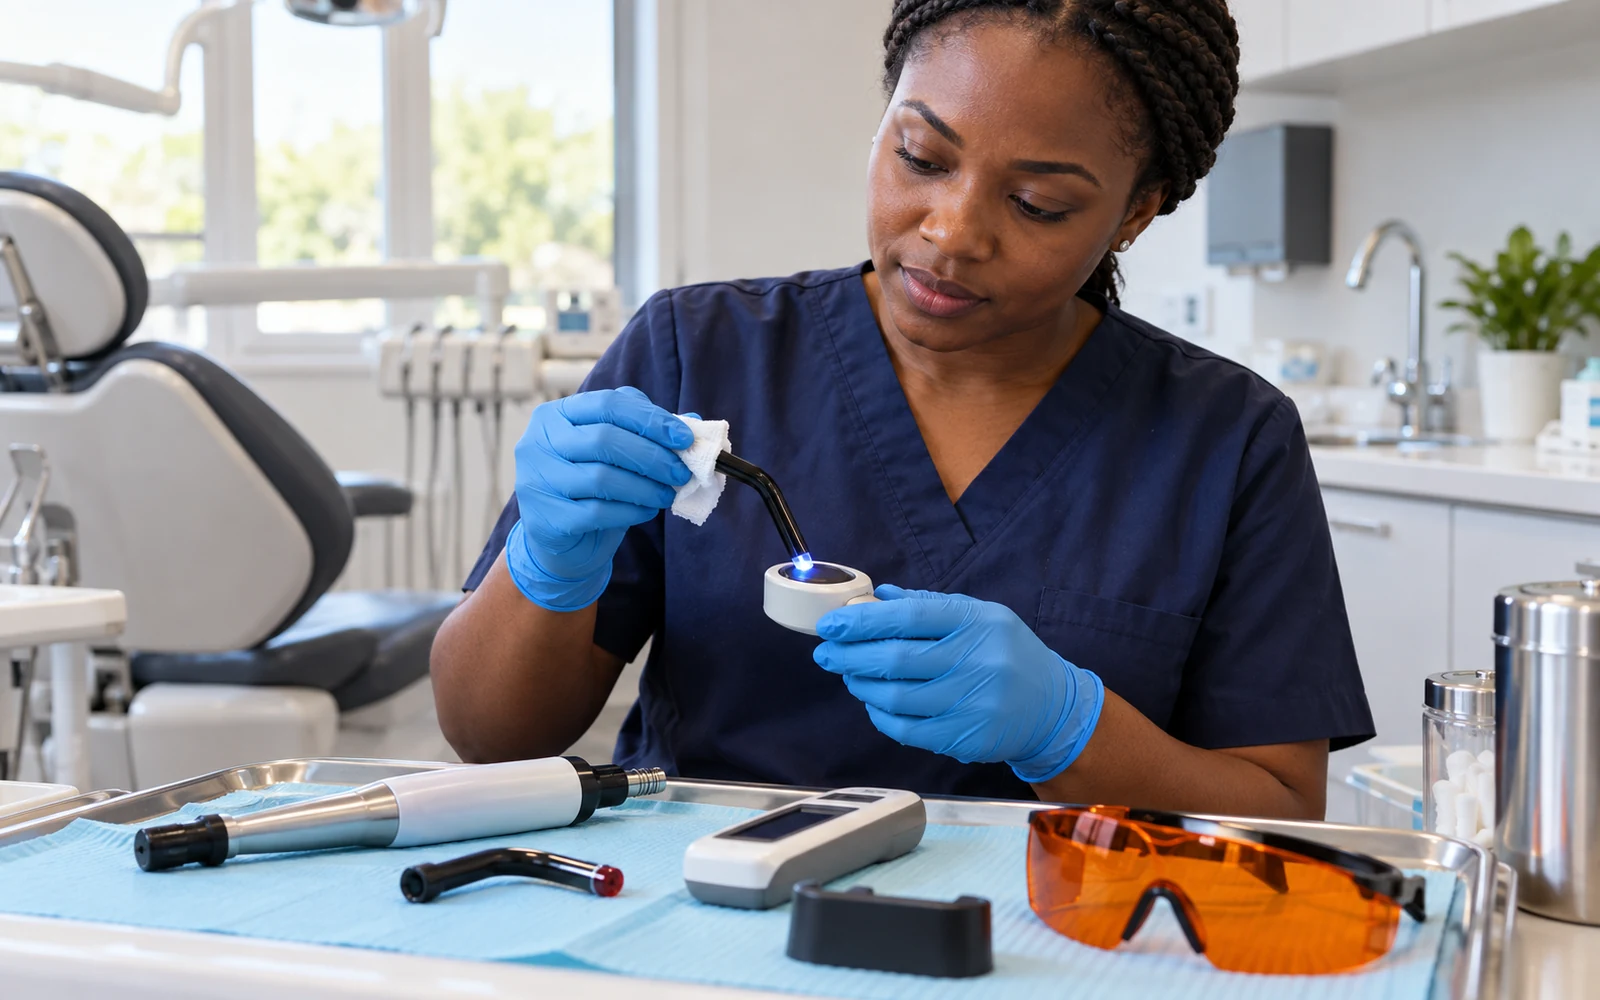
Write a short local procedure that names who inspects the tip, measures output with a compatible device, maintains the charger and responds to an unexpected reading. Use the curing-light maker’s measurement method and acceptance range. A chairside radiometer can reveal changes or problems, but it does not independently confirm adequate polymerization of every material in every cavity.
Record the device identifier, date, mode, condition of the tip, test instrument, result and action taken. Repeat checks after damage, repair, a replaced light guide or a suspected performance issue. Keep spare protective eyewear and a workable backup plan if the clinic relies on one handpiece.
A laboratory study found that the simple assumption of equal energy from higher power for shorter time did not always produce equivalent material conversion. Its findings concern tested materials and conditions, so the safe operational rule is to use validated instructions for the actual light-material combination rather than invent a time from arithmetic alone. Review the original exposure-reciprocity study.
Buying checklist for African clinics
There is no single operating condition shared by all African markets. A clinic evaluating a curing light should document its own electrical reliability, service access, procurement lead time, material inventory and staff training. In a multi-chair practice, availability of a second working light and a method for comparing output may matter more than a rarely used maximum-power mode.
- Materials: list the composites, adhesives, sealants and cements in routine use, then match each to its IFU.
- Optics: obtain the published spectral range, tip diameter and output information for the exact model.
- Workflow: test access to posterior and proximal areas, handpiece grip, timer modes and protective eyewear.
- Support: confirm genuine supply, warranty terms, compatible charging equipment, service and replacement light guides.
- Quality: agree on an output-check method and records before the new light enters patient care.
- Cost: compare lifetime ownership, not only purchase price; include downtime, accessories and training.
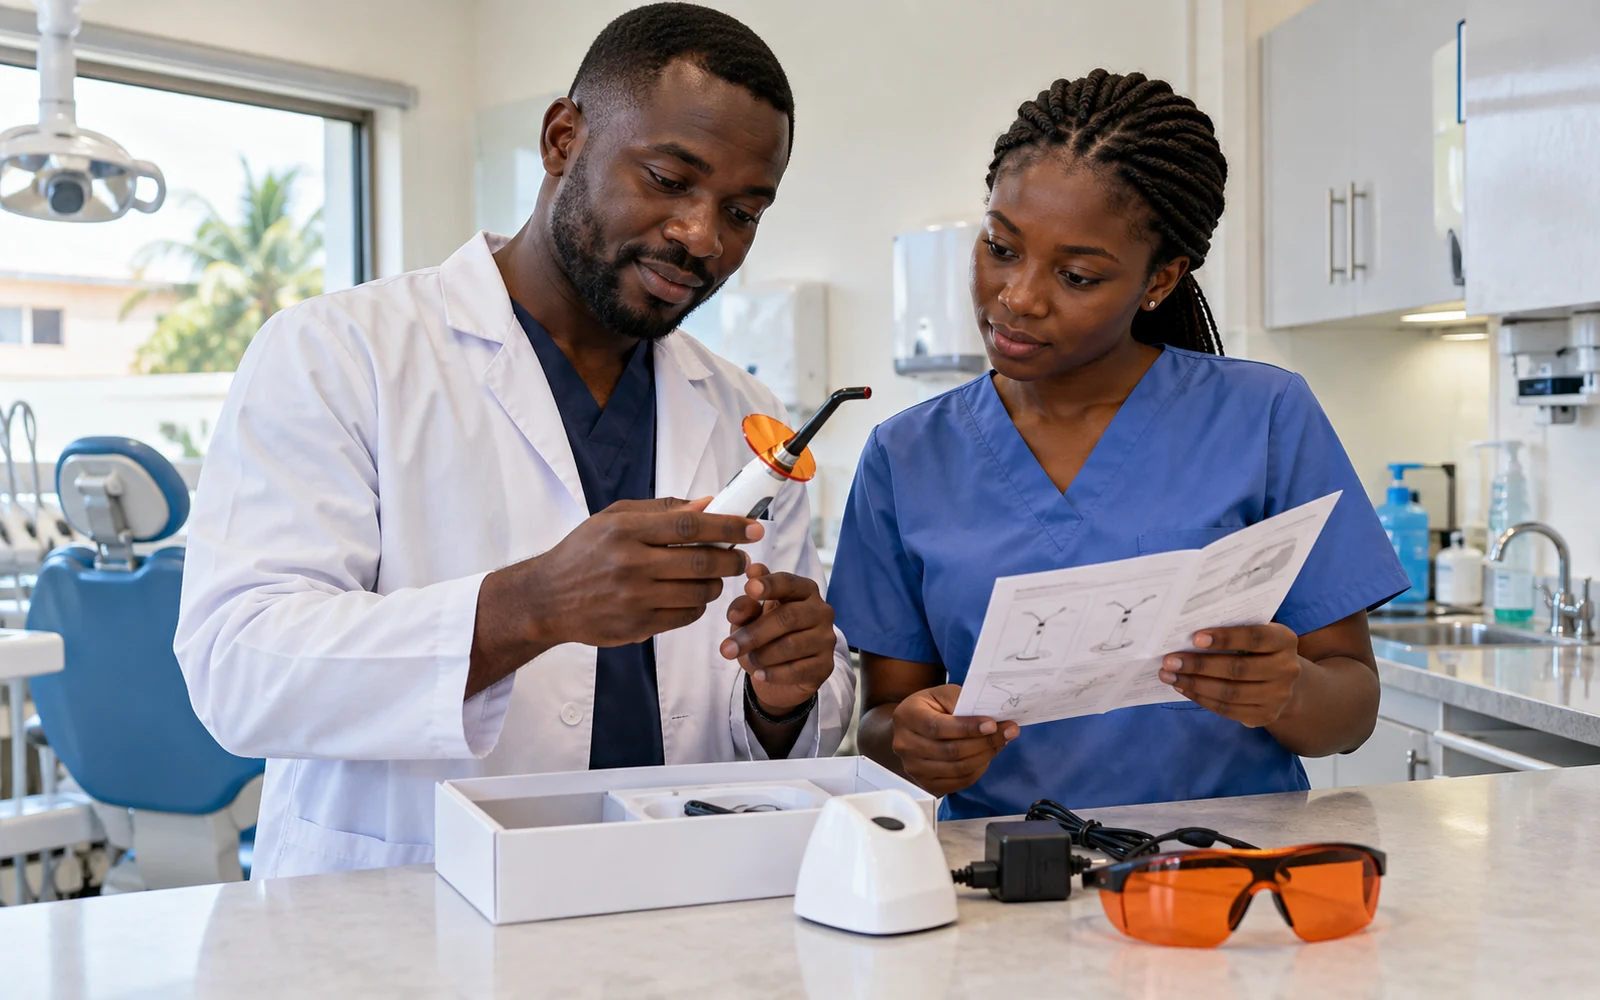
Denta24 currently lists a curing-light option among its devices and equipment. Review the exact model listing, request its official IFU and verify availability before purchasing. This guide does not assign unverified specifications to that product. For the other half of the workflow, explore the store’s restorative materials and cross-check each product’s indicated curing cycle.
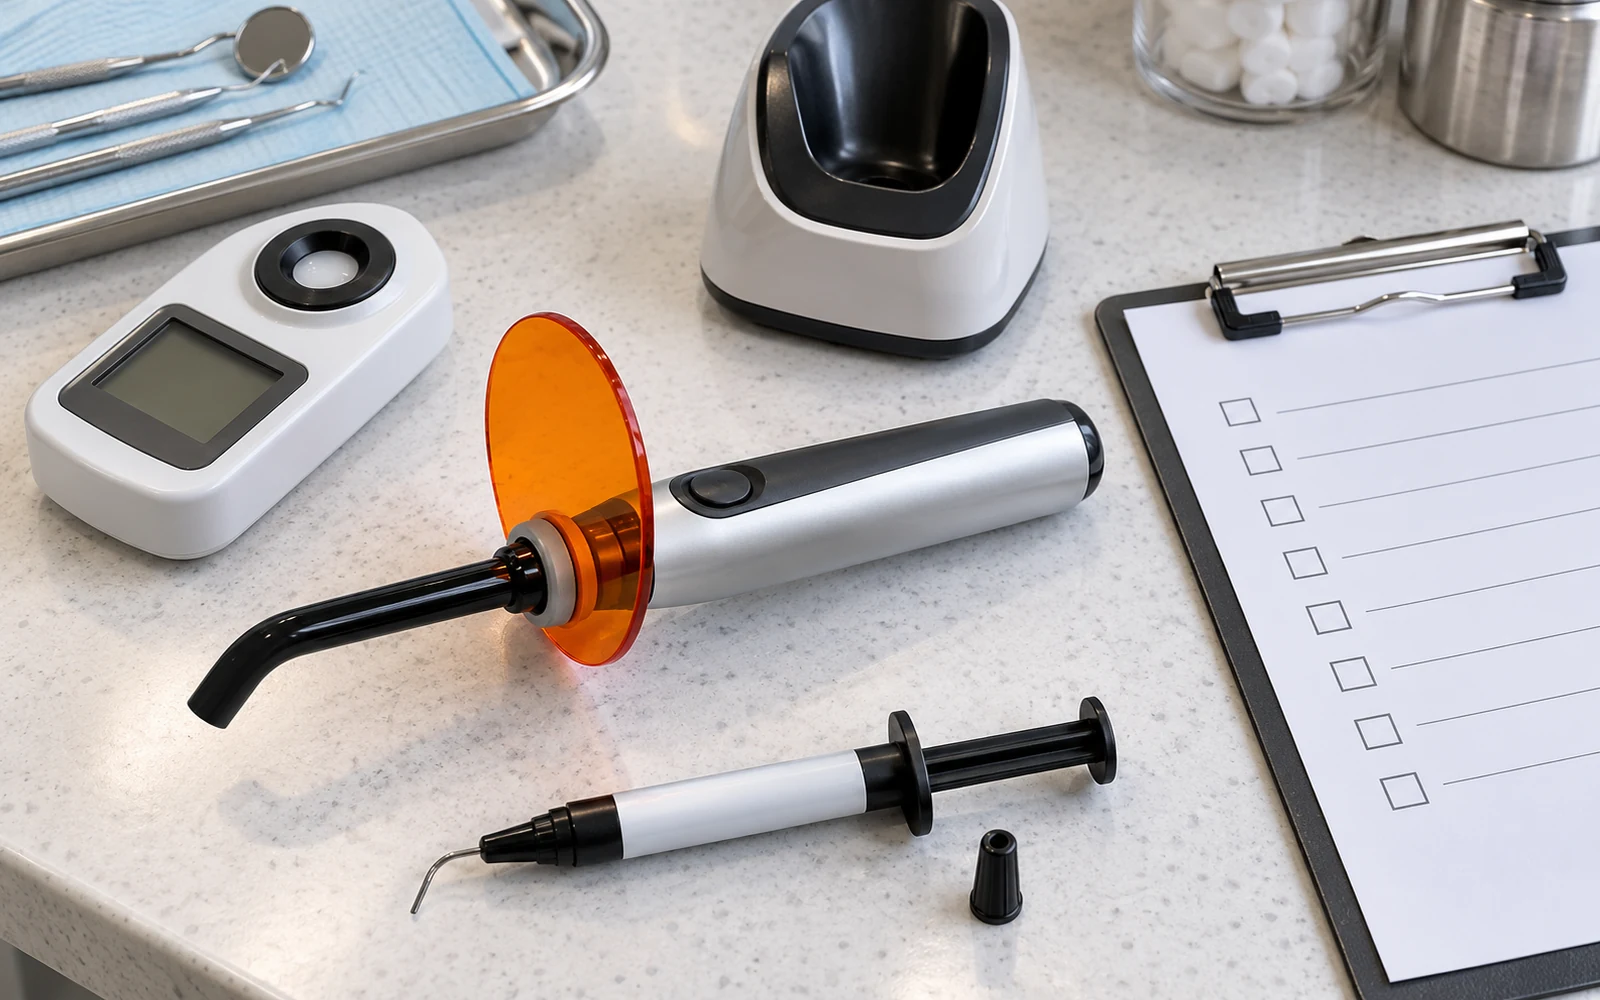
Decision before purchase
Ask a supplier for the exact device IFU, available technical data, maintenance method and accessories. Select the light that can reliably cure the clinic’s actual materials in its actual procedures, and train every operator to reproduce that method. If a case has limited light access, consider whether the restorative plan or material should change; for deep core and post applications, the separate dual-cure core build-up guide explains why light cannot be assumed to reach every surface.
Frequently asked questions
Is a brighter curing light always better?
No. Usable spectrum, tip geometry, positioning, exposure and material instructions matter alongside measured output.
Can I halve the curing time if irradiance doubles?
Do not assume so. Exposure reciprocity can fail under some tested conditions; use validated instructions for the actual light and material.
Will one LED light cure every composite?
Not without checking compatibility. Compare the light’s spectral output and the material’s photoinitiator and IFU.
Does a radiometer prove a restoration is cured?
No. It supports device monitoring, while material, technique and cavity geometry still affect the restoration.
Why does tip distance matter?
Increasing distance can reduce or redistribute light reaching the material. Follow device guidance and control the position.
What if the beam is narrower than the restoration?
The entire intended area must receive suitable exposure; follow the material and light instructions for overlapping positions.
How often should output be checked?
Use the device maker’s method and a documented clinic schedule; recheck after suspected damage, repair or a performance concern.
Can an orange shield replace protective eyewear?
Use the protective system specified for the device and procedure, ensuring all exposed people are protected. Never look directly at the active tip.
Does bulk-fill composite need the same cycle as conventional composite?
Not necessarily. Follow the specific product’s IFU for depth, shade and curing conditions.
What should a clinic keep with its curing-light records?
Keep the device and material IFUs, training record, output checks, maintenance and any corrective actions.
References and scope
Sources: American Dental Association, “Dental Curing Lights”; Mutluay et al., Quintessence International 2014, PMID 24847493; exposure-reciprocity laboratory study, PMID 25804190. This article is professional education, not an individual treatment protocol. Device and material manufacturers’ current instructions and applicable local requirements govern use.