 Endodontic Rotary Files
 Finishing Burs
 High-Speed Burs
 Low-Speed Drills
 Cosmetic Accessories
 Home Whitening Kits
 Clinic Whitening Kits
 Implant Accessories
 Implant Fixtures
 Prosthetic Components
 Surgical Implant Tools
 CAD & CAM Materials
 Lab Consumables
 Lab Equipment
 Digital Dentistry Devices
 Endodontic Equipment
 General Clinic Equipment
 Restorative Equipment
 Surgical Equipment
 Hand Files
 Irrigation & Medicaments
 Post & Core
 Rotary Files
 Sealers
 Brackets & Wires
 Clear Aligners
 Orthodontic Accessories
 Bonding & Adhesive Systems
 Finishing & Polishing
 Matrix Systems
 Etching Materials
 Composite Materials
 Occlusion Checking
 Bone & Grafting Materials
 Surgical Accessories
 Surgical Consumables
 Cementation
 Impression & Registration Materials
 Temporary Restorations
 Periodontal Instruments & Accessories
 Periodontal Treatment Materials


Digital Implant Workflow: From Scan and Planning to the Final Prosthesis

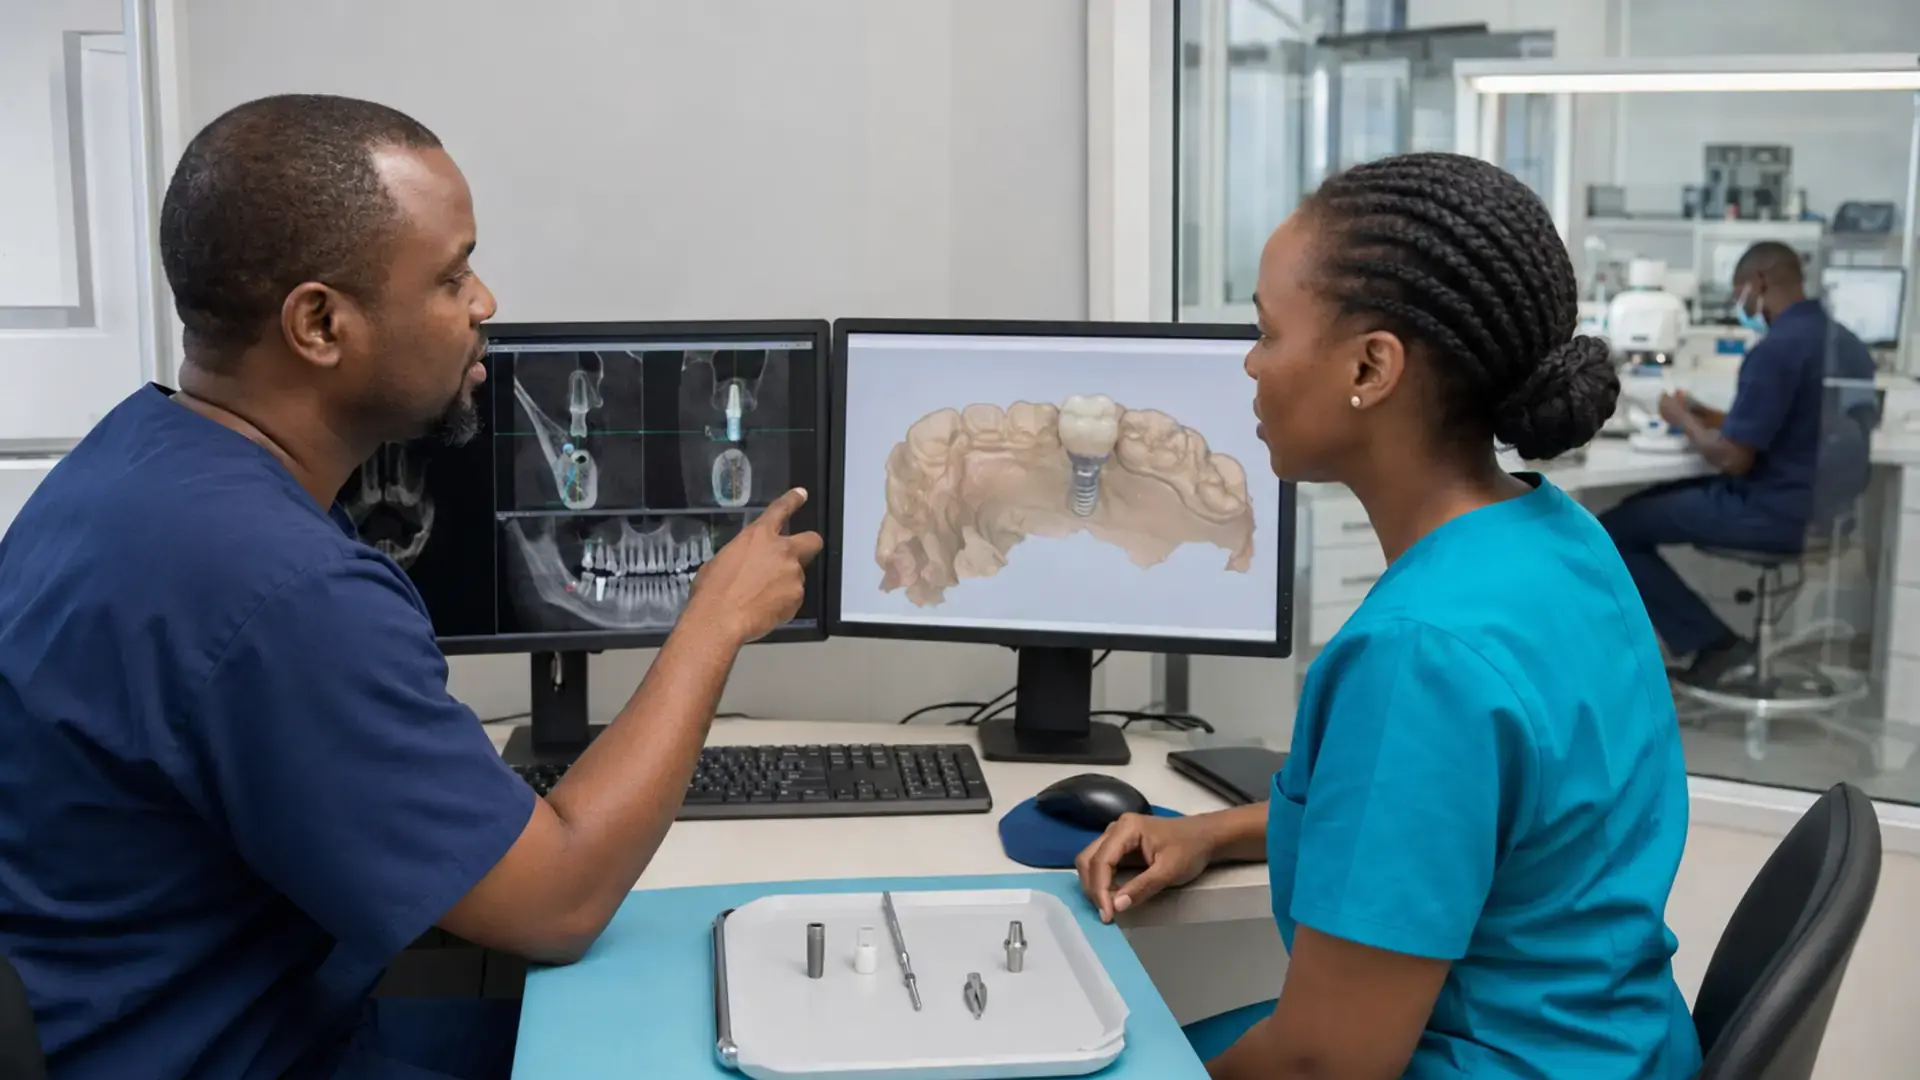
Digital Implant Workflow should be evaluated through clinical evidence, workflow fit and local operating conditions. A sound digital implant workflow decision connects verified performance with the team, patients and resources that will support it in daily practice.
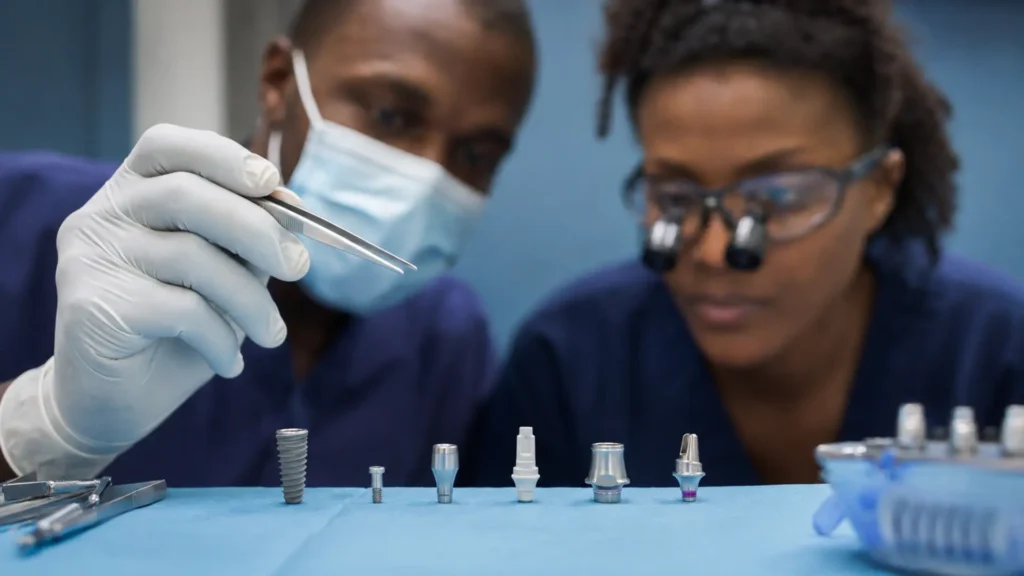
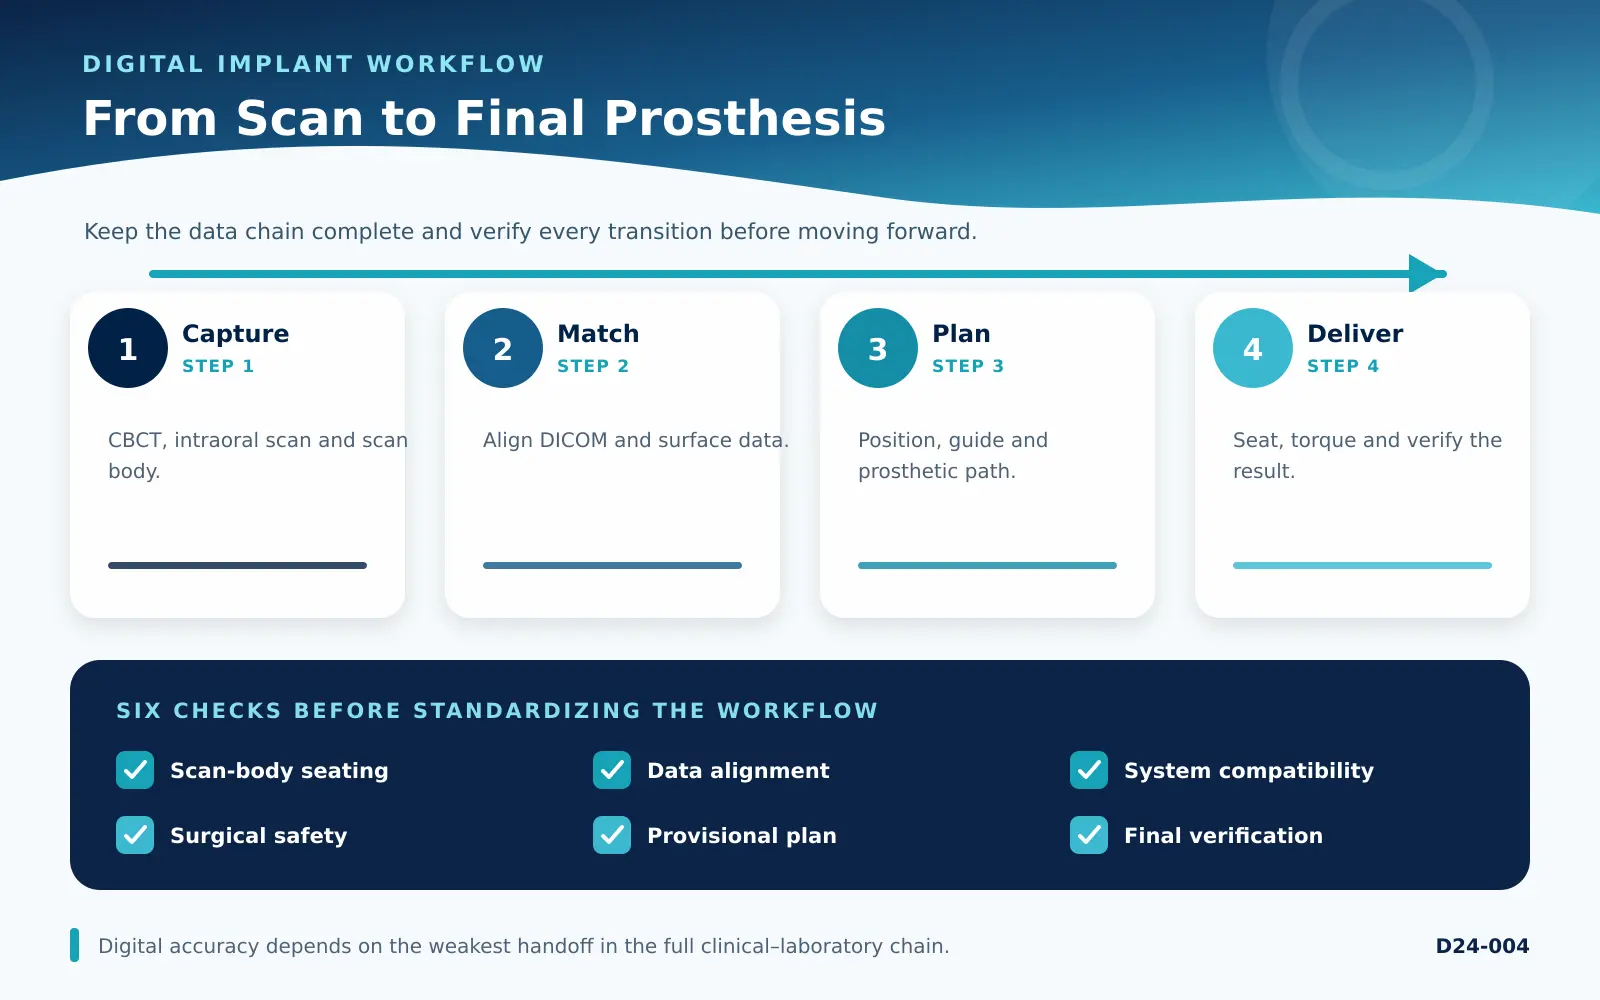
A digital implant workflow connects diagnostic imaging, prosthetic planning, surgery, scanning and laboratory production. The technology can reduce manual transfers and improve communication, but it also creates a chain in which small errors can accumulate. A reliable workflow therefore depends less on owning multiple devices and more on controlling every handoff.
For clinics working with laboratories across cities or borders, digital files can shorten turnaround and reduce physical shipping. The benefits are strongest when the implant system, scan bodies, software libraries and laboratory process are fully compatible.
Quick answer: A dependable digital implant workflow begins with prosthetically driven diagnosis, combines CBCT and surface data accurately, uses verified implant components and includes clinical checks before the definitive prosthesis is delivered.
Table of Contents
Stage 1: Diagnosis and Prosthetic Planning
Begin with the final restoration in mind. Evaluate the patient’s medical history, periodontal status, smile, occlusion, tissue volume, bone anatomy and restorative space.
CBCT provides three-dimensional information about bone and anatomical structures. An intraoral scan or high-quality model provides detailed surface information for teeth and soft tissue. Neither dataset should be considered complete by itself.
Stage 2: Acquire High-Quality Digital Records
A useful record usually includes:
- CBCT in DICOM format.
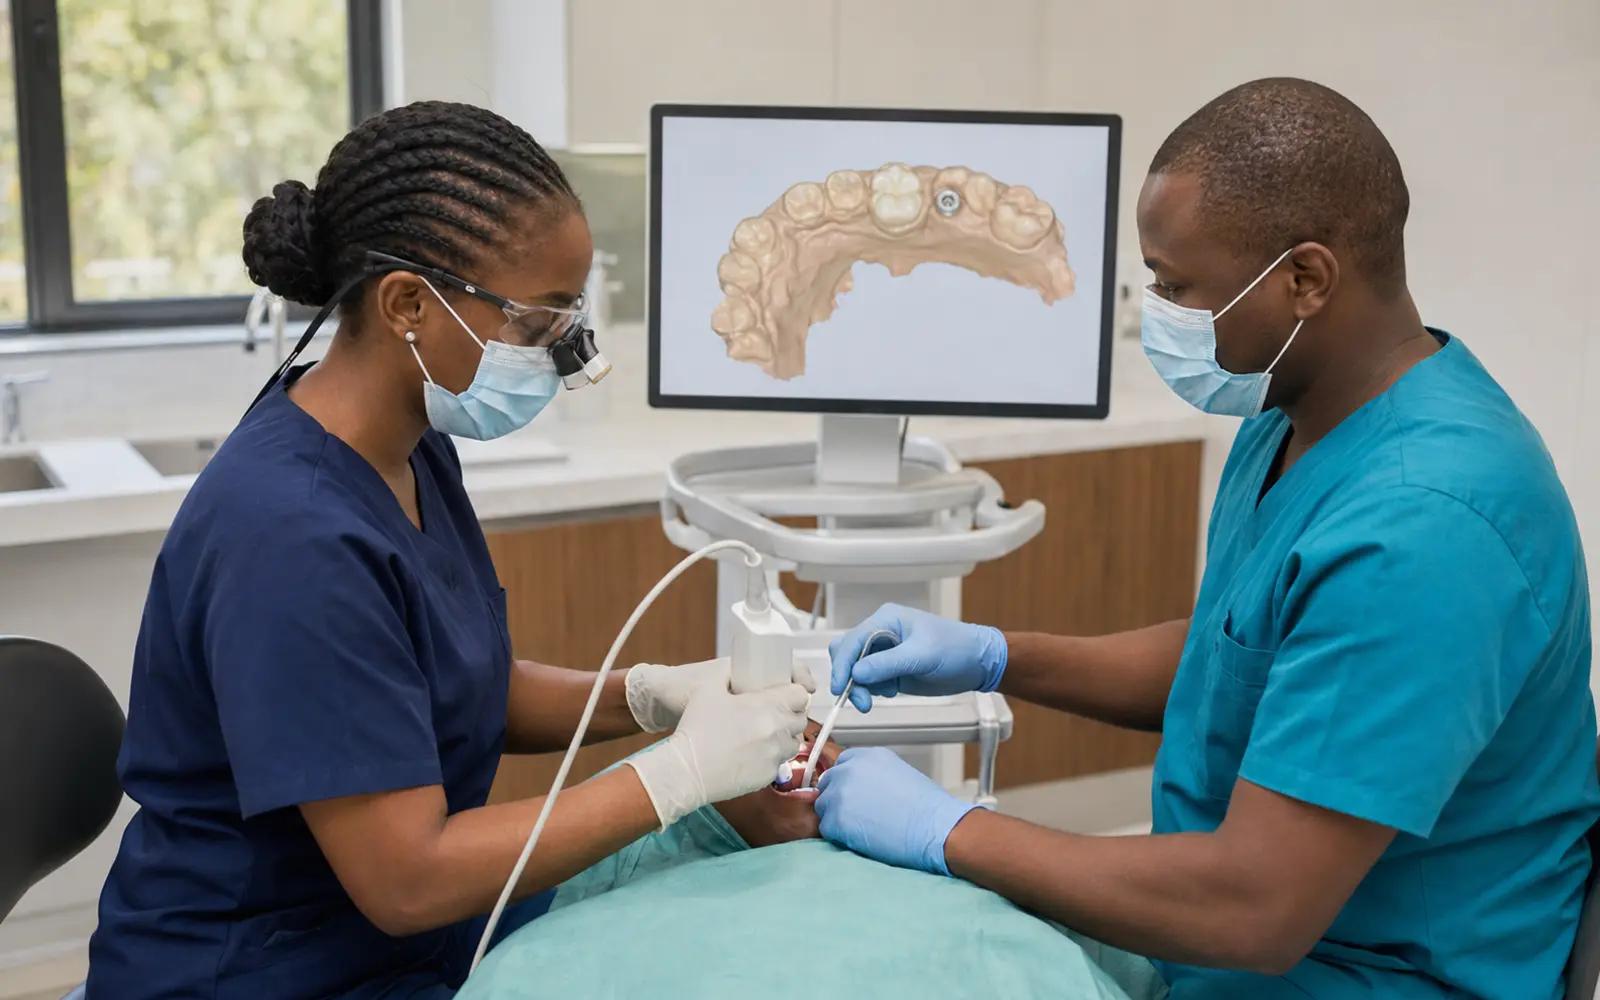
- Intraoral scans of both arches.
- Accurate bite registration.
- Clinical photographs.
- Proposed restoration or diagnostic setup.
Control patient movement, metal artefact, saliva and missing scan surfaces. Check all records before the patient leaves.
Stage 3: Align DICOM and Surface Files
Planning software matches the CBCT and surface scan using common landmarks. Incorrect alignment can shift the planned tooth or guide relative to the bone.
Verify the alignment in multiple views. Do not rely only on the software’s automatic registration. Check cusp tips, incisal edges and other stable structures.
Stage 4: Prosthetically Driven Implant Planning
The implant position should support a cleansable, functional and aesthetic restoration. Planning must consider:
- Restorative emergence and screw-access position.
- Bone volume and need for augmentation.
- Distance from adjacent teeth and implants.
- Nerves, sinuses and other anatomy.
- Drill length and mouth opening.
- Guide support and fixation.
Stage 5: Surgical Guide Design and Production
A guide may be tooth-supported, mucosa-supported, bone-supported or supported by another validated approach. Accuracy depends on the complete system: imaging, planning, guide design, printing or milling, sleeve, drill sequence, fit and surgical handling.
Before surgery, verify seating on a model or intraorally and confirm that the guide is stable. A guide does not remove the need for surgical judgment.
Stage 6: Implant Placement
Use the implant manufacturer’s surgical protocol, including drill sequence, irrigation, speed, depth and torque. If the guide does not seat correctly or anatomy differs from the plan, the clinician must be prepared to modify or abandon the guided approach.
Stage 7: Digital Implant Impression
After appropriate healing or during a planned immediate workflow, a scan body transfers implant position to the digital file. The scan body must match:
- Implant brand and connection.
- Platform and diameter.
- Restorative level.
- Software library.
- Manufacturer’s scanning instructions.
Seat it fully, tighten as recommended and inspect radiographically when indicated. Capture the complete geometry and surrounding soft tissue.
Stage 8: Laboratory Design
The laboratory imports the scan and selects the correct digital implant library. The technician designs the provisional or definitive restoration, considering emergence, contacts, occlusion, hygiene and material thickness.
When clinics and laboratories are geographically separated, a standardized digital prescription reduces errors. Include the implant system, component code, shade, material, torque information and clinical photographs.
Stage 9: Verification Before Final Delivery
Digital accuracy should not be assumed. Depending on the case, verify:
- Complete seating of components.
- Radiographic fit.
- Interproximal contacts.
- Occlusion.
- Soft-tissue pressure.
- Passive fit in multi-unit cases.
- Cleanability and screw access.
Complete-arch implant prostheses may require a verification jig, photogrammetry or other advanced control method.
Where Errors Accumulate
Potential error sources include CBCT artefact, surface-scan distortion, file alignment, guide production, guide seating, drill tolerance, implant placement, scan-body seating, scanning, library selection and manufacturing.
Create a written quality-control checkpoint at each stage. Digital does not mean error-free; it means errors can often be identified and corrected earlier.
What African Clinics Should Consider
A digital workflow can improve access to specialized laboratories, but clinics must confirm data-transfer reliability, component availability and support. If a scan body or prosthetic screw cannot be replaced locally, treatment may be delayed.
Maintain an implant identification record for every patient. Store the brand, connection, platform, component references and lot information in the clinical file.
Denta24 Equipment and Implant Categories
Denta24 provides access to dental implant categories and digital dentistry devices. Clinics should build a complete compatibility list before ordering any component. Similar-looking parts are not necessarily interchangeable.
A Phased Adoption Strategy
- Start with digital records and single-implant restorative scans.
- Standardize one implant system and component library.
- Develop a laboratory communication template.
- Audit fit and remakes.
- Expand to guided and multi-unit cases after training.
Digital Implant Workflow: Practical Checks for African Clinics
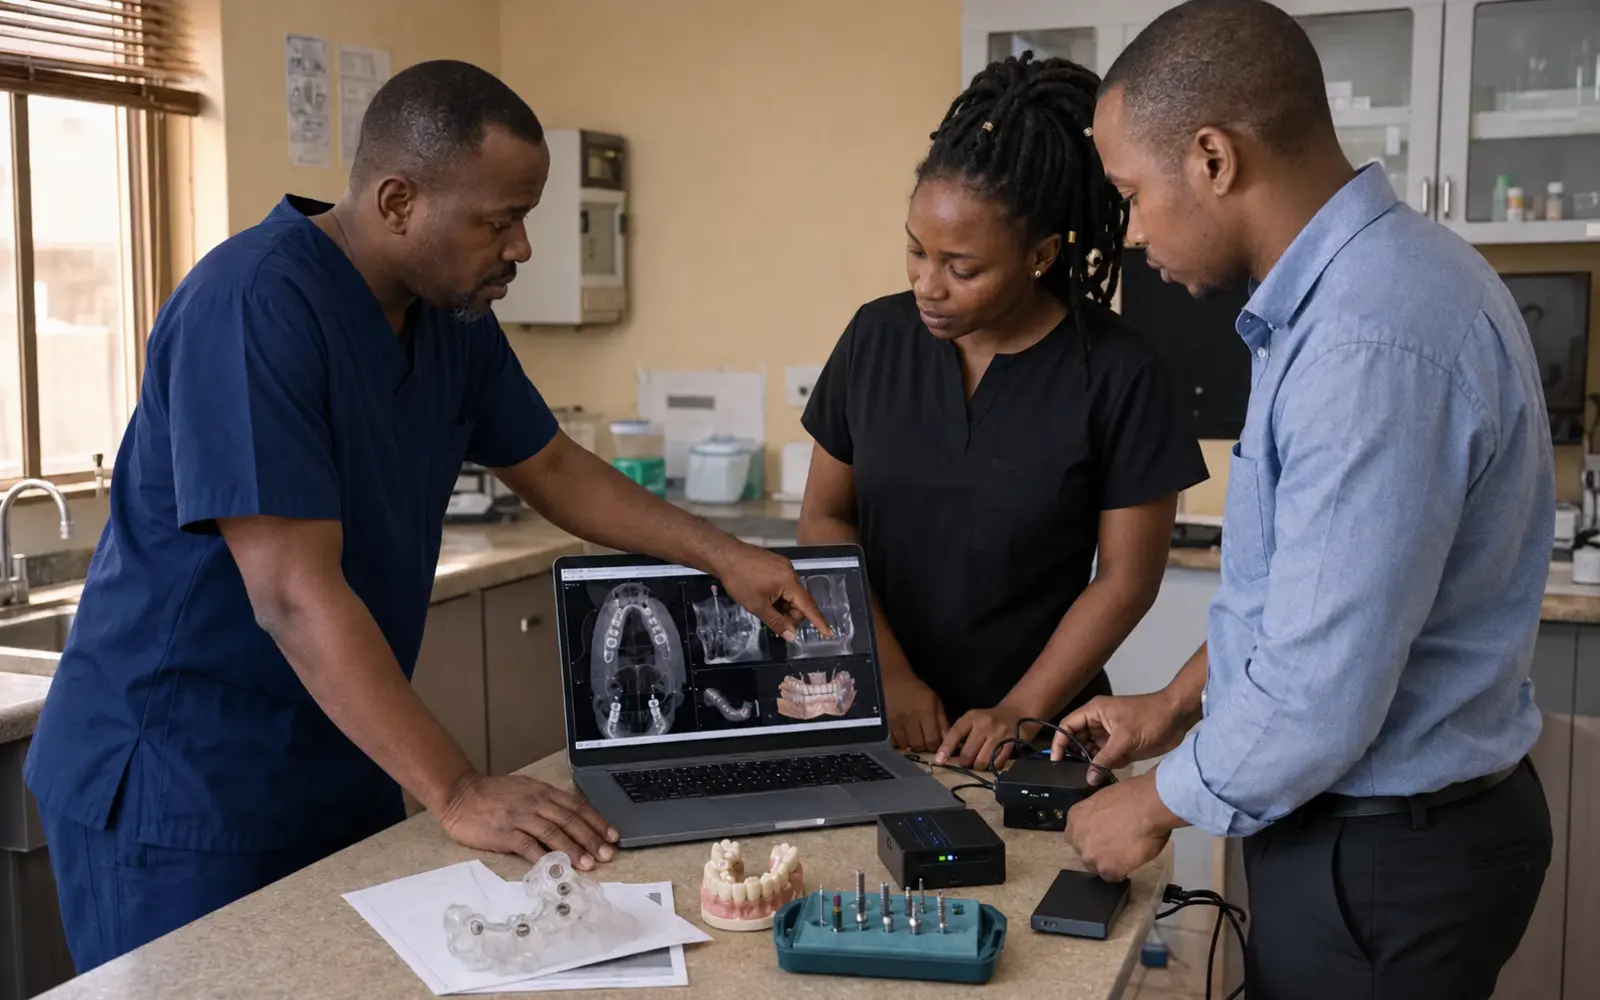
For African clinics, digital implant workflow is not a product-only decision. It must also account for CBCT access, laboratory communication, software compatibility, component availability, scan-body libraries, power and internet continuity, training and maintenance. A resilient digital implant workflow plan should remain workable when supply, connectivity, service access or patient follow-up is less predictable than expected.
Before adoption, document who is responsible, which current instructions for use apply, how outcomes will be measured and what will trigger referral, retraining or a change in protocol. The goal of digital implant workflow is to control cumulative error at every handoff and use verification steps rather than assuming that a fully digital file is automatically accurate.
- Verify CBCT access before implementation or purchase.
- Verify laboratory communication before implementation or purchase.
- Verify software compatibility before implementation or purchase.
- Verify component availability before implementation or purchase.
- Verify scan-body libraries before implementation or purchase.
- Verify power and internet continuity before implementation or purchase.
- Verify training and maintenance before implementation or purchase.
Use digital implant workflow as an operational decision that is reviewed after real cases. Record complications, remakes, chair time, consumable use, stock-outs and team feedback, then refine the protocol from evidence rather than marketing claims.
Related Denta24 reading: modern technology in dental implant procedures. This context helps place digital implant workflow within a broader clinical and digital strategy.
Conclusion
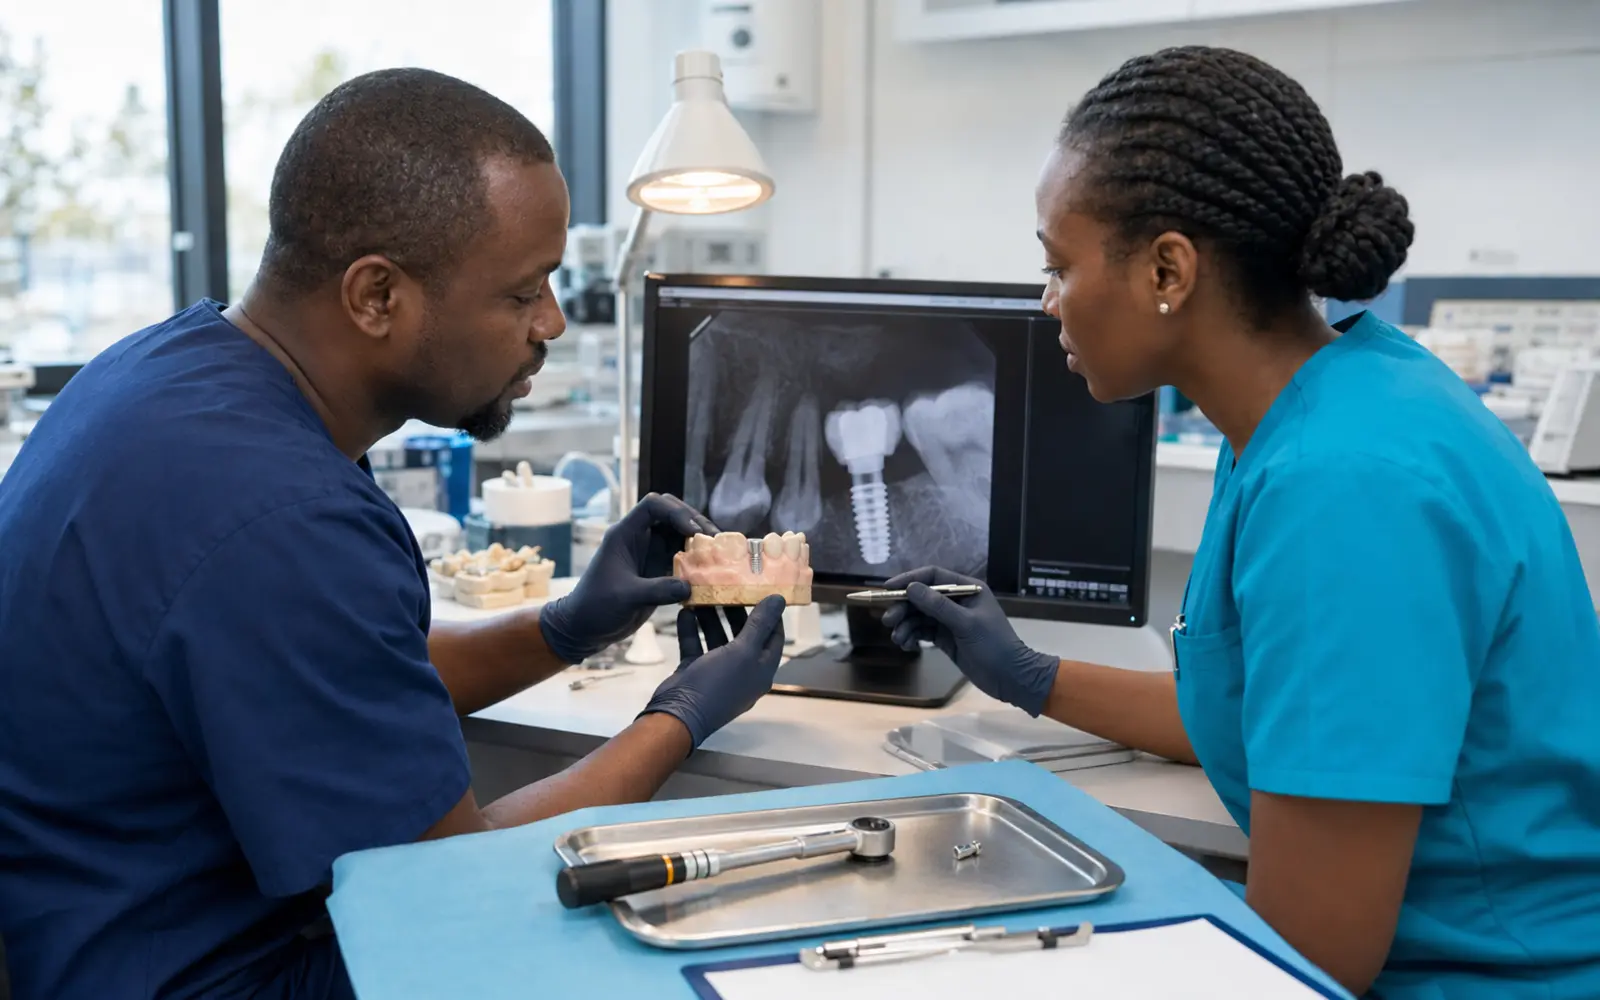
Digital Implant Workflow succeeds when the evidence, local workflow and review plan remain aligned. A digital implant workflow is most reliable when it is treated as a controlled clinical system. High-quality records, verified compatibility, prosthetic planning and clinical validation matter more than the number of digital devices in the clinic.
Frequently Asked Questions
What files are used in a digital implant workflow?
For context, digital implant workflow should always be adapted to the individual case and the current evidence. CBCT usually provides DICOM data, while intraoral and laboratory scanners provide STL or other surface files.
Why are CBCT and intraoral scans combined?
CBCT shows bone and anatomy, while surface scans provide detailed teeth and soft-tissue geometry.
What is a scan body?
It is a precision component that transfers implant position and connection into the digital design workflow.
Can components from different systems be mixed?
Only when compatibility is explicitly validated. Similar appearance does not guarantee correct fit or torque.
Where do errors accumulate?
Errors can arise during imaging, alignment, planning, guide production, surgery, scanning, library selection and manufacturing.
Is guided surgery always more accurate?
No. Accuracy depends on the entire protocol, guide support, fit and surgical execution.
How is passive fit verified?
Use clinical and radiographic checks and, where indicated, a verification jig or additional records.
Can the laboratory be in another country?
Yes, but file security, turnaround, component supply and shipping of the final restoration must be planned.
What training is required?
Training is needed in scanning, planning, implant components, file management, guide use and verification.
How should a clinic adopt the workflow gradually?
Begin with straightforward single implants and expand only after the team demonstrates consistent accuracy.
References and Further Reading
- Digital implant workflow review
- Digital implant planning and guided surgery
- Denta24 dental implants
- ITI: intraoral scanning in implant workflows
- ITI: photogrammetry accuracy for full-arch implant position
Professional disclaimer: Implant surgery and prosthetic treatment require appropriate training, diagnosis and compliance with implant-system instructions and local regulations.